Final Preparation
Last couple weeks were very busy finishing all of the necessary preparation to get going. We spent a lot of time figuring things out and planning what to do, so wrapping everything up all seemed to happen at the same time. It was stressful and exhausting, but it felt good to see things finally ready.
Roof Repair
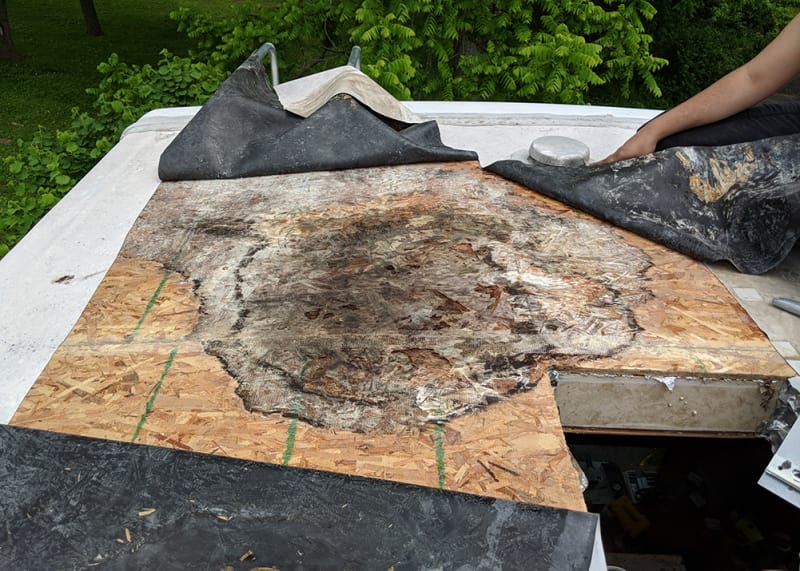
This was an unexpected project. The roof of the RV looked good when we bought it, and the state inspection included a roof leak check (which found none), so we thought we were good to go on this front. The only thing I really had planned was to clean the roof prior to installing the antennas and solar panels. I did that, and while cleaning around our AC, I discovered a very soft spot in the roof.
We really didn’t know what to do about this. We assumed the leak was caused by a problem with the AC, and fixing that would be pretty far outside of what we can do (or wanted to learn to do). We were almost ready to just call the local RV shop, and just pay whatever we had to. Ugh. Not only was this going to be expensive, it was probably going to delay our start even further.
Before calling, we did an internet search for repairing leaky AC units. We didn’t find much in the way of actual repairs, but we did learn that it was easy to move the AC unit, so we decided to do that, first. To our surprise, the area where the AC passes through the roof was completely fine; the soft spot was not being caused by the AC after all. It didn’t take long to find two holes in the rubber roof that were pretty clearly the cause. We’re guessing the holes have been there since the original owner purchased the RV; after almost adding an additional hole ourselves, we discovered that leaning the AC unit on its side put all of the weight directly on a screw that pressed into the roof. It was either a bad install or a bad checkup somewhere along the line.
Since the AC itself was fine, we did some research on roof repairs. It wasn’t the most straightforward thing ever, but it looked doable. We decided to give it a shot. It involved cutting back the rubber roof, cutting out the damaged area using our circular saw, cutting new pieces of OSB to match what we removed, attaching the new pieces, and gluing the rubber back down. We sealed up everything at the end using Eternabond tape (which is designed for the type of rubber roof we have).
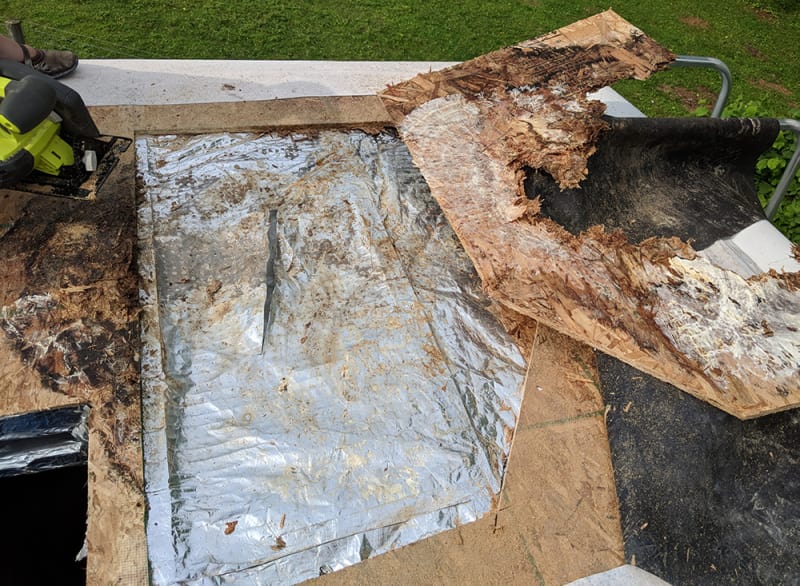
Cutting out as much of the damaged wood as possible.
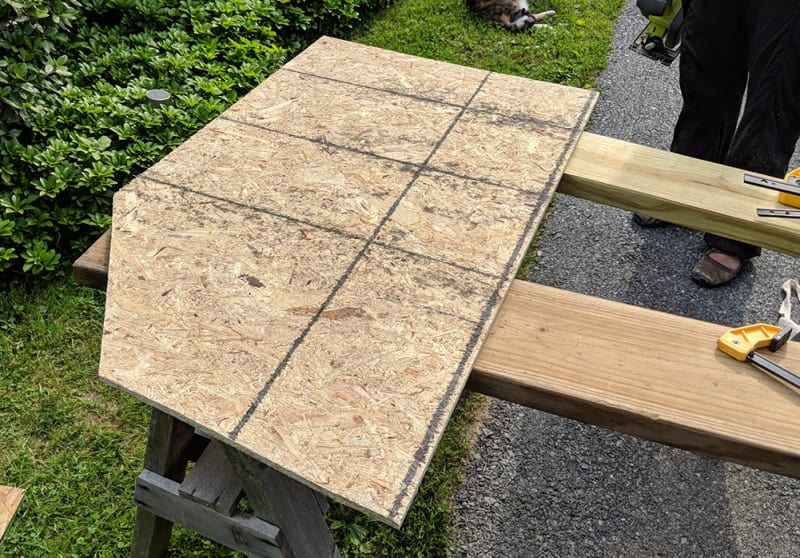
Cutting new wood to fill the gaps.
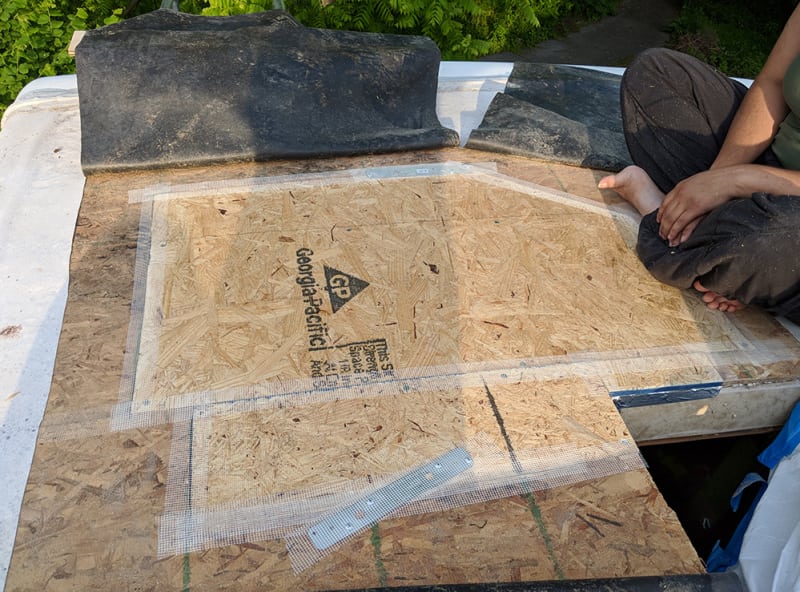
Covering the seams with mesh tape.
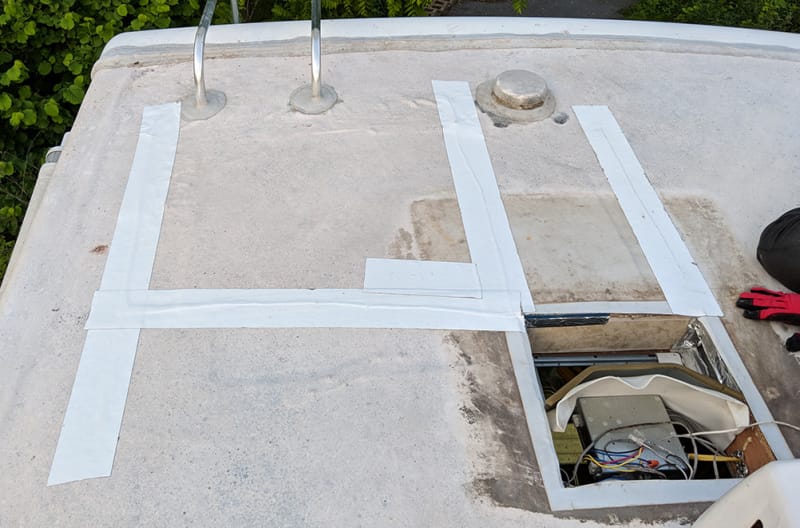
We glued the rubber down with contact cement and covered the seams with Eternabond tape.

The roof post-repair!
We’ll keep an eye on it to make sure it continues to look dry, but for now, the roof is solid, and there are no signs of leaks.
Solar Panels
You can buy solar panels online, but shipping is pretty expensive, and the cost isn’t amazing. A family friend does residential solar installs, so I talked to him about getting some extra panels. Unfortunately, residential solar panels are just a bit too big for our roof. They’d fit if you really forced them, but it would be tough, and you’d be more likely to get shading from other roof things since you’d be so close to them. I called a couple local solar shops, and I got lucky to find an Amish one that had some panels that were just a bit smaller than residential panels and fit perfectly on our RV roof. Additionally, the size was just right so that we could fit 5 panels, rather than the originally planned 4 panels, which upped our total solar production to 950 watts!
We were pretty ambitious with regard to mounting the panels. In addition to doing the install ourselves, we decided to build our own mounts, too. I saw someone on Youtube do it, and it seemed like a good idea, so we went for it. It wasn’t really that complicated. We bought angle aluminum from Home Depot, cut 12” segments to attach to the roof (which is likely to be the weak point in high winds) and 6” segments to attach to the solar panels themselves. The bracket on the panel is attached to the bracket on the roof with a single bolt that will allow the panels to rotate, if we ever want to tilt them.
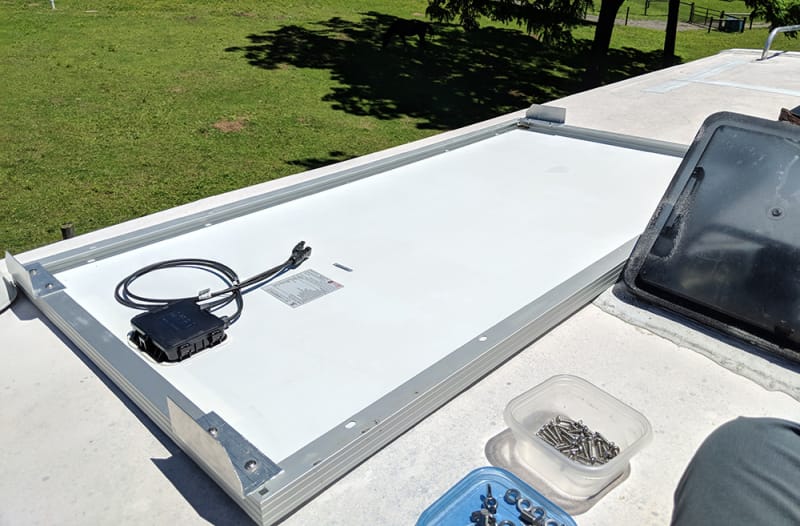
Brackets attached to the solar panel.
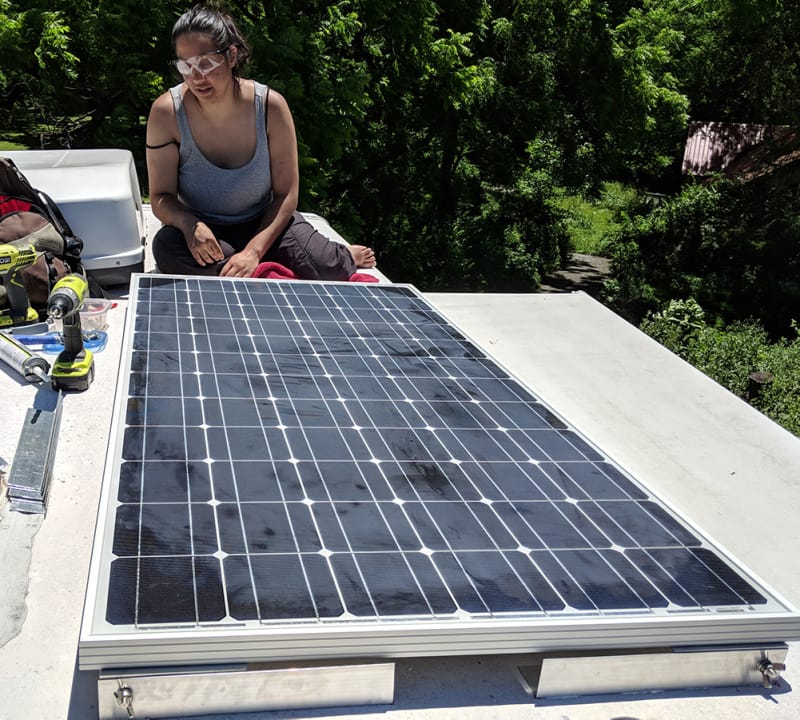
Mounting a solar panel.
Building the brackets went roughly as expected, but it turned out to be a lot of work. The thin aluminum cuts pretty easily, but because it’s thin, we had to build a jig to secure it. Since we were working with long, 8’ segments of aluminum to start, and because we didn’t really have a proper workbench, it took a while to set up for each cut. Additionally, after cutting, we had to file all of the edges smooth to ensure the brackets didn’t cut into the rubber of the roof (or our hands). We had to cut angles for tilting, and drill holes for all of the hardware.
Also, it turns out that hardware, at least the heavy duty stuff, is pretty expensive. When we made the initial plan to do this, I assumed, it would save money since pre-made solar panel brackets are pretty expensive. It turns out, our costs were pretty much identical. Oops.
Once we finally finished all of the brackets, the actual task of mounting the panels wasn’t too bad. Since we added 5 panels, most of the available roof space was used, so it was a little hard to work up there once the first 3 panels were in place, but we managed. We did end up having to stagger the positions of the panels so that we had space to fit the drill in between them, so the roof doesn’t look as organized and tidy as I wanted, but I’ll live with it. So far, at peak sunlight, we’re producing around 750-800 watts of power, and even in cloudy weather, we’ve been getting a couple hundred watts, which is still enough to power all of our normal loads and still charge the battery a bit. Since we’re still new to the whole RVing thing, we’ve tried to stay in campgrounds with full hookups to keep things simple, but I think we’ll make a lot better use of them once we get more comfortable with boondocking1.
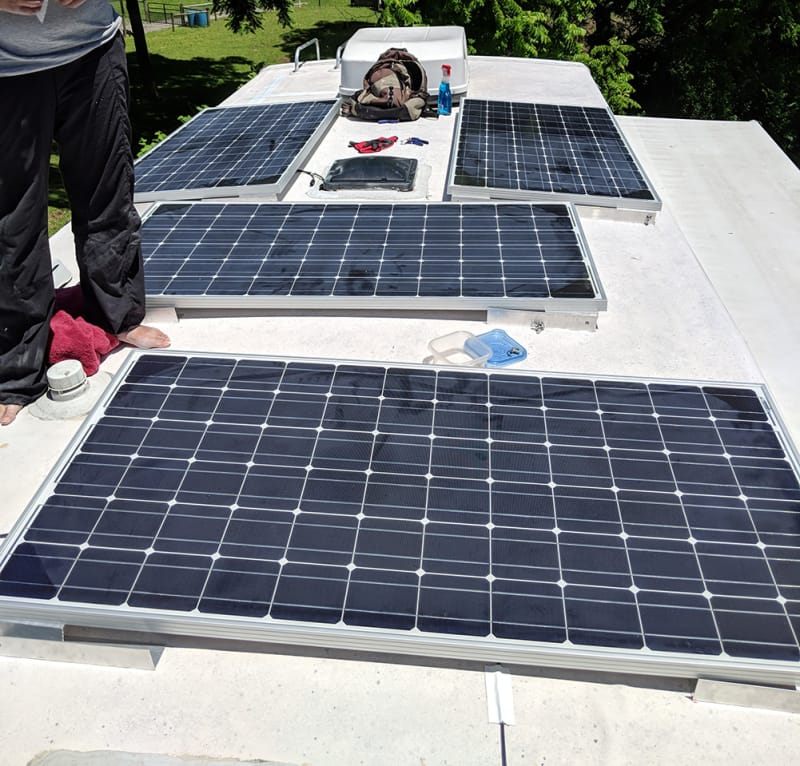
Four of the five solar panels.
Litter Box
This project was pretty simple, in theory. We’d just cut a hole in the back of the steps and put the litter box in a space in our basement2. In practice, it was pretty complicated. We needed the cats to be able to access it from the interior of the RV, but we needed to be able to reach it to scoop from outside. The steps are also higher than the basement floor, so we needed a ramp. We needed to keep it as compact as we could, though, so we’d still have enough space for storage.
Sushila did this pretty much single-handedly. I measured the basement area, and she designed the room using Fusion 360, a CAD modeling program. The model didn’t completely account for everything, but it was enough to get started. From there, she cut and test fit, piece by piece. A ramp leads out from behind the RV steps, turns, and a second ramp leads down to the litter box We added walls to keep the cats from wandering through the RV basement, and we added a peg board door to allow some airflow (and to let us see if the box is being used before we open the door).
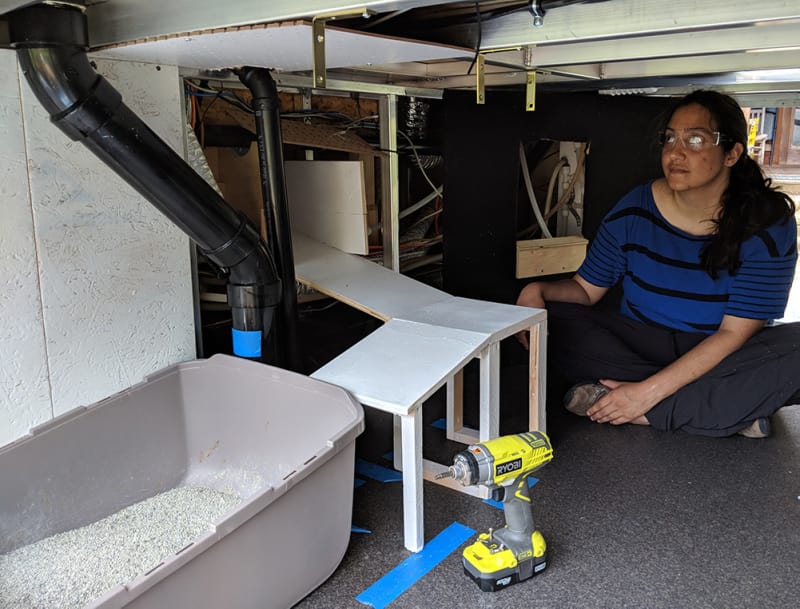
Installing the ramp for the litter box room.
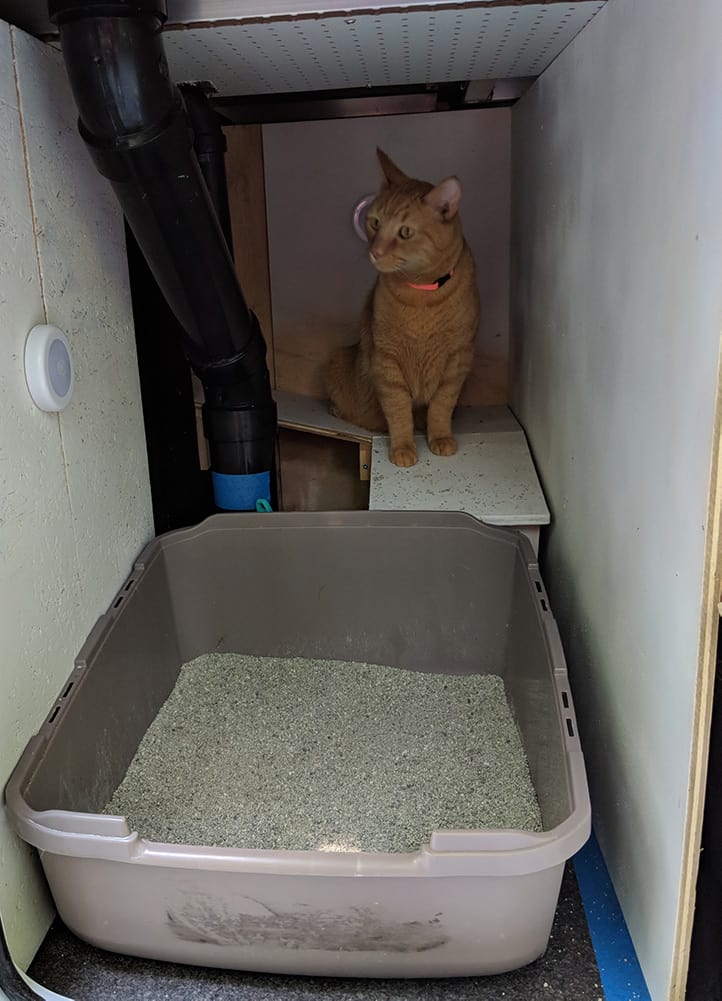
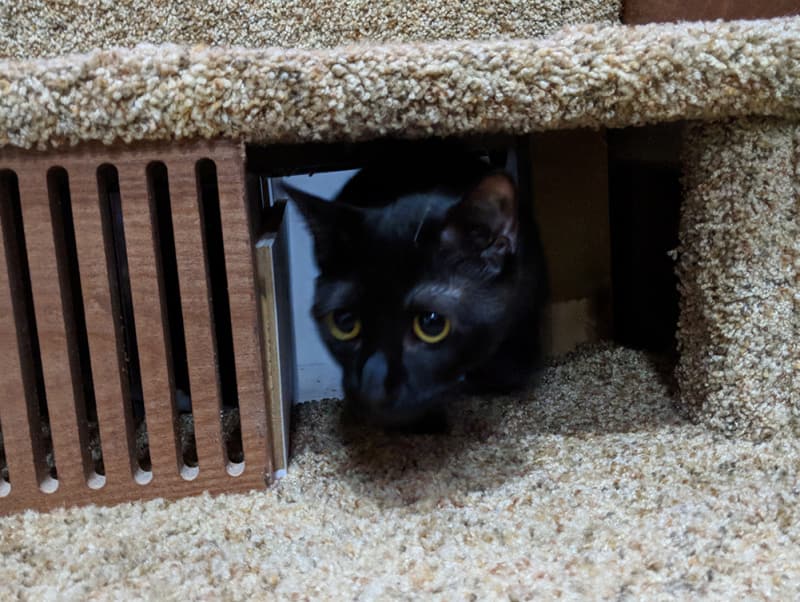
Mango inspects the inside of the finished litter box room.
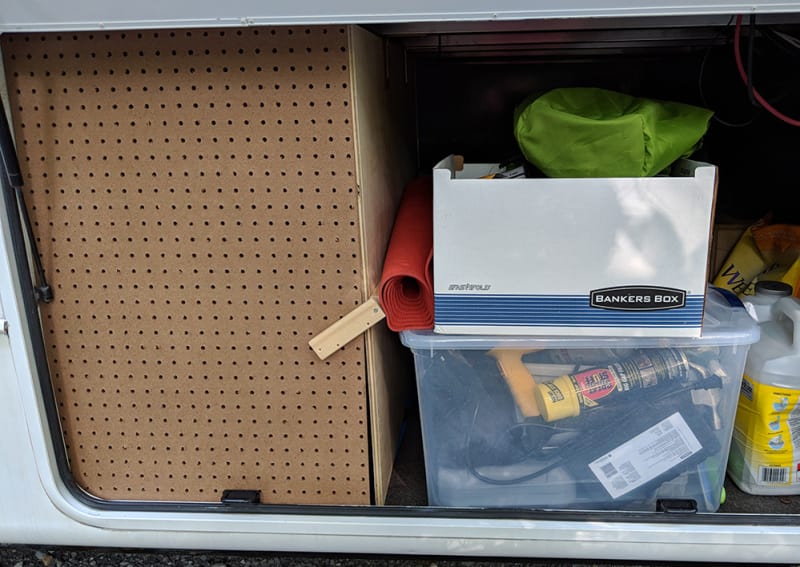
View of the litter box room with the door closed.
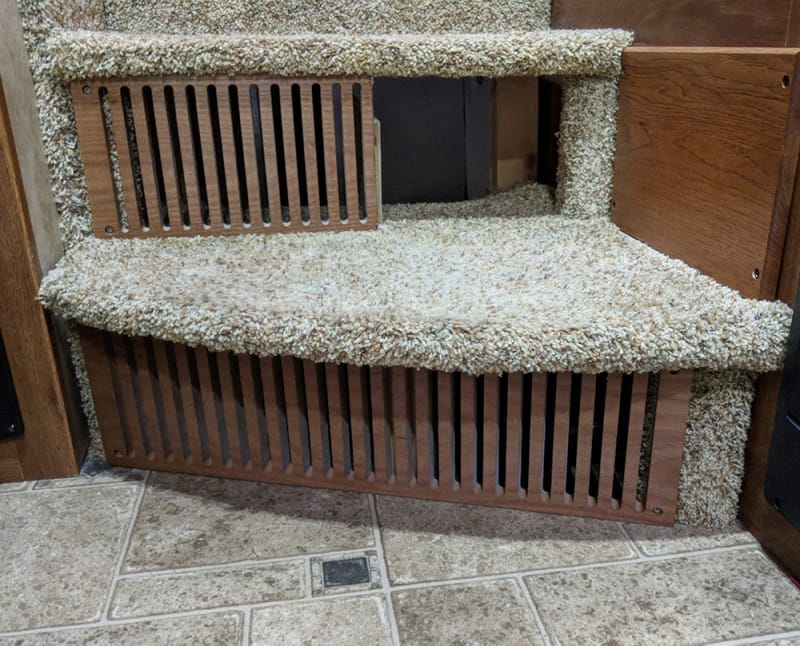
Access to the litter box from under the steps.
Ollie testing the litter box ramp.
It was a lot of work, but in the end, it turned out perfectly! It’s a luxury bathroom compared to the previous litter boxes the cats had, so they’ve seemed happy to use it, and it’s easy to access and scoop from the outside for us. Additionally, it has kept litter almost entirely out of the RV interior.
Trial Run
With our RV work wrapped up, we booked a site at Spring Gulch, a local RV campground, to serve as a trial run. Of course, we didn’t give ourselves quite enough time to load and organize all of our stuff in the RV, so we ended up being pretty rushed on our last day. We managed to get everything in (although not completely organized), and we were ready to head out.
This was the first time moving the RV since I did my practice drive and had it inspected. We planned to spend a couple hours practicing driving and backing up before we actually went to the campground. We were already a little behind schedule from the packing, so we were a little rushed when we closed up the RV and prepared to tow. Unfortunately, we forgot to raise the rear stabilizer jacks before raising the front end to hitch it to the truck. On relatively flat ground, this would probably be ok; however, since my parents’ driveway has an incline, we had to raise the front end of the RV pretty high to get it in line with our truck hitch. This put way too much pressure on the jacks, and one of the jack supports (which are supposed to be straight) ended up bent at a nice 90 degree angle.
The stabilizer jacks keep the RV from moving a lot when it is parked and we are walking around inside, but they aren’t critical. However, we needed to be able to raise them off of the ground to drive, and the bent arm was preventing that. We panicked for a few minutes, and then gathered our wits and managed to remove the bent arm and raise the jacks. Of course, by the time we did that, we were out of time to practice driving, so we just headed straight to the campground.
It wasn’t too bad driving through the campground, but we had a back-in site, and I’d never backed up the RV (or any other trailer) before. It must have been pretty obvious, because Bob, a friendly RVer in a neighboring site, immediately came over to help us back in. Luckily, he had experience training people in driving trucks, so he knew how to guide me in. It still took quite a few attempts to straighten it out, but in the end, we parked in the site and didn’t hit anything. We’ll call that a win.
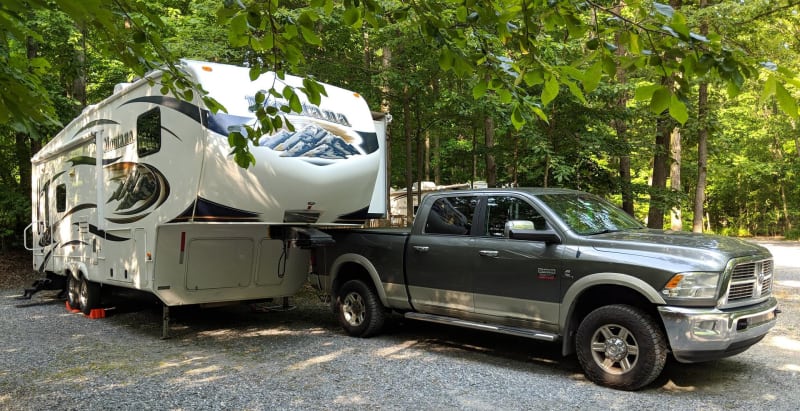
Parked at Spring Gulch

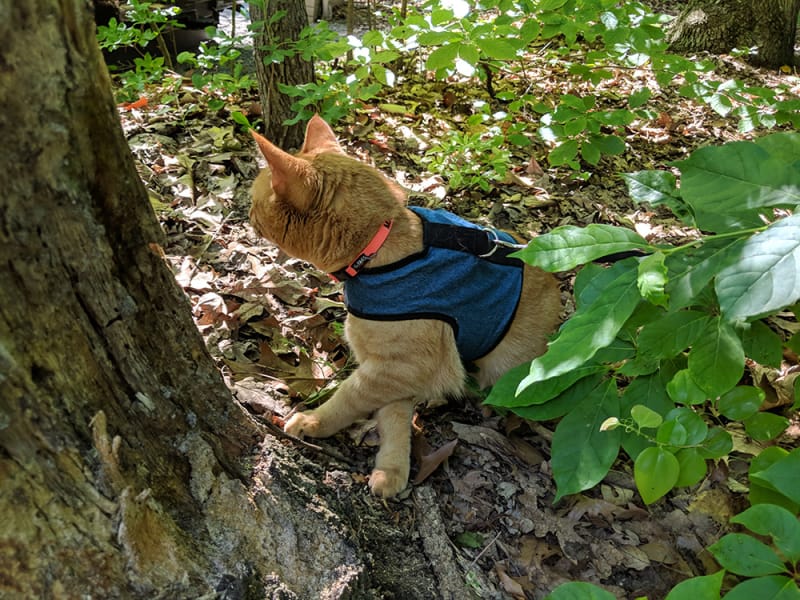
Sushila smiling while Ollie explores the great outdoors.
Mango exploring around the RV.
We spent a few days at Spring Gulch settling in to the RV and cleaning up the mess we left at my parents’ place. After that, it was time to go.
On Wednesday, June 20th, we packed up the RV and truly began our trip.
What’s Next
Our first destination is Hickory Run State Park in northeastern PA. We’ll spend one day there and then head to Taconic State Park in New York. We’re meeting friends from NYC there for a weekend camping trip. After that, we’ll spend some time in Lake George, NY, and then meet up with our family in Vermont.
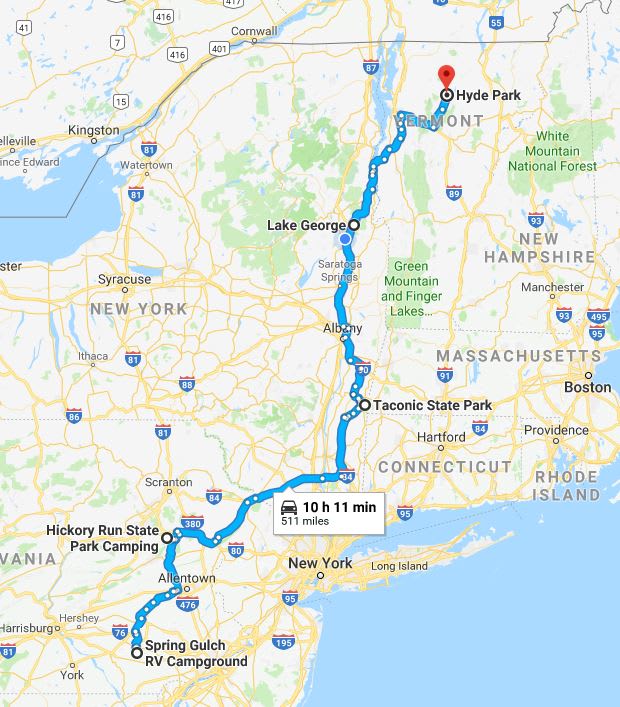
Our route for the next couple weeks.