Preparing the RV - Part 2
I had dreams of doing a weekly vlog to keep everyone updated on our progress on preparing for RV life. I shot a lot of video while working on the RV, but finding the time to review and edit all of it into coherent videos just hasn’t happened. I still plan to collate all of that footage into some kind of video eventually, but rather than make everyone wait indefinitely on that, I’ll give you a blog update now.
The Move
The big news is that we finished moving out of NYC this past week.
Moving is never particularly fun, but we did manage to spread out the work into more manageable chunks (for the most part). We really started prepping for the move about 6 months ago. We threw away a lot of useless junk we accumulated, and we donated many boxes of clothes, books, and other unnecessary household items. We packed up keepsakes and other items that we don’t use regularly very early on, and we organized most of the rest of our stuff.
We spread the move out over 5 trips. I drove the truck into the city every weekend and brought back some of our stuff each week. Each trip cost somewhere around $200 for fuel, tolls, and parking. For the move alone, it would have been more cost effective to just rent a moving truck. I wanted to be back in the city each weekend, though. It let me progress on the RV each week but still see friends for one final month. It also spread out the stress of the move, and that was well worth it.
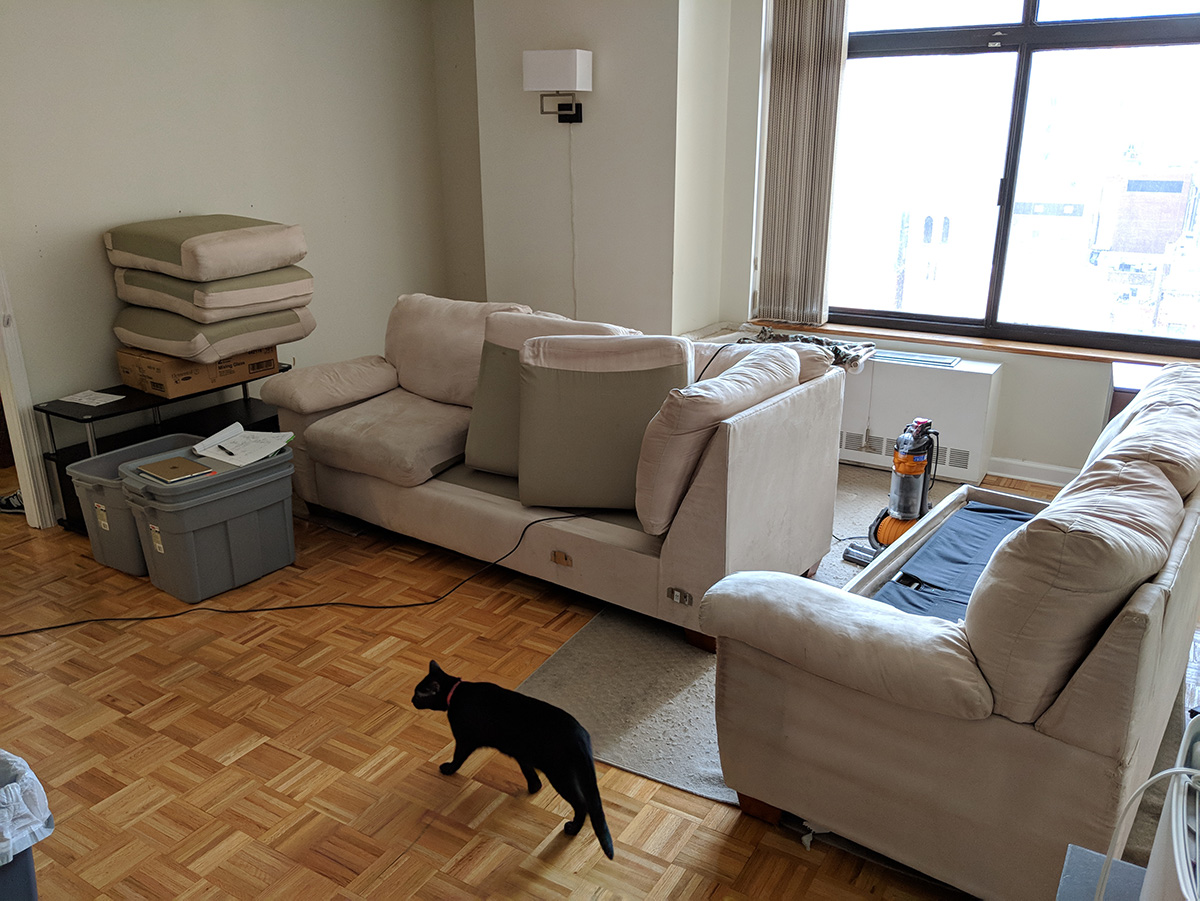
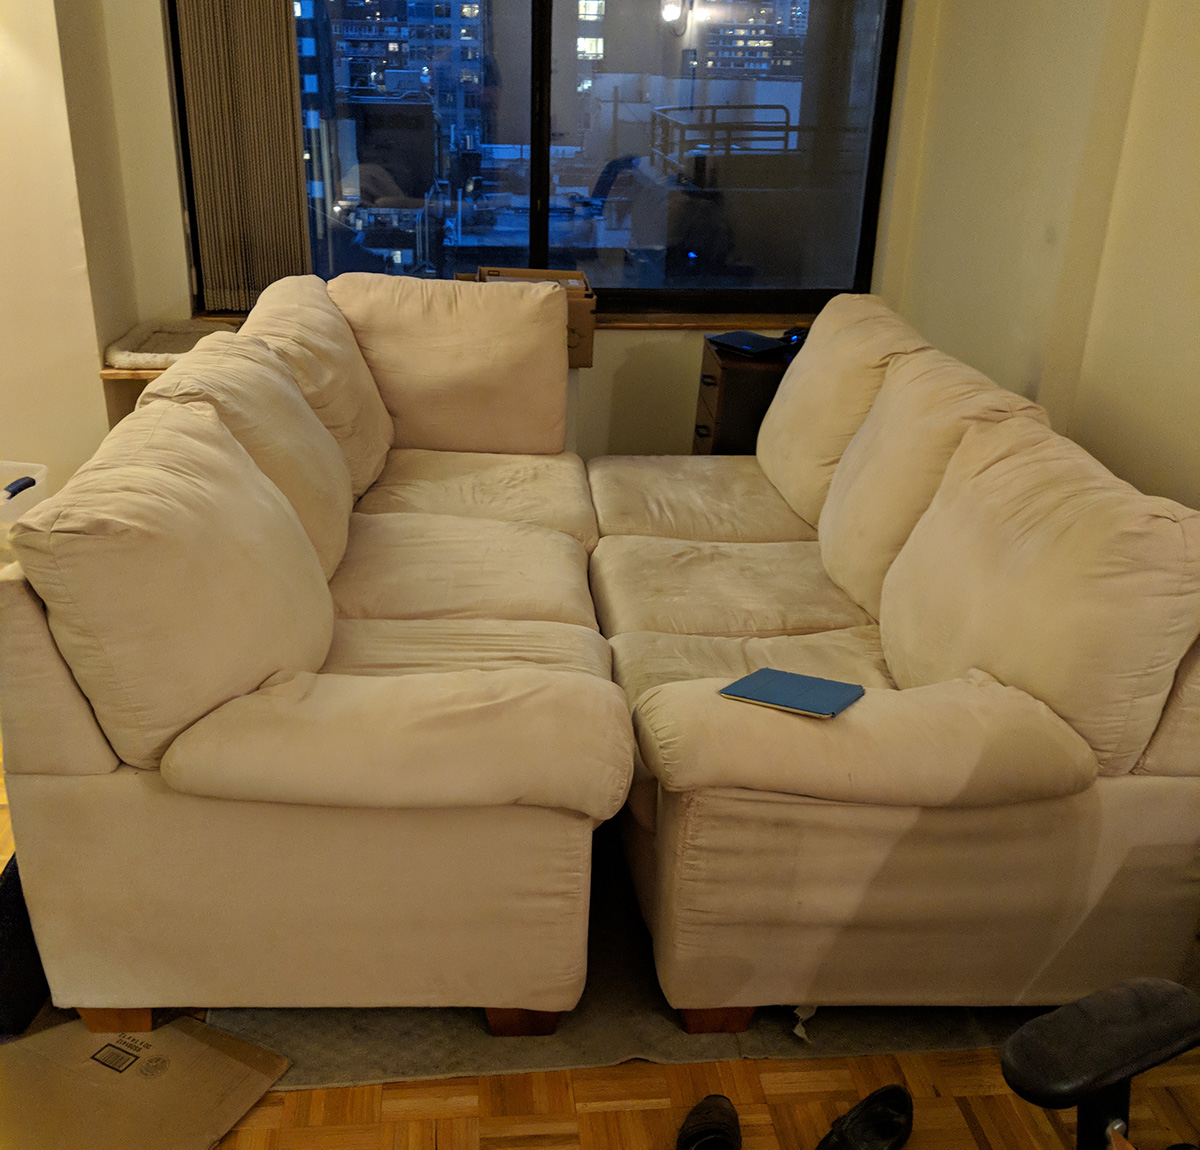
The final weekend did end up being pretty stressful. It turns out our building has rules about how and when you’re allowed to move out, and apparently everyone in NYC knows about this except me. We scheduled furniture pickups on Sunday, with our departure on Monday; however, the building didn’t allow moving on weekends. Despite that, we still managed to sell or give away most of our furniture and other miscellaneous stuff, and in the end, we only had to throw away a few things.

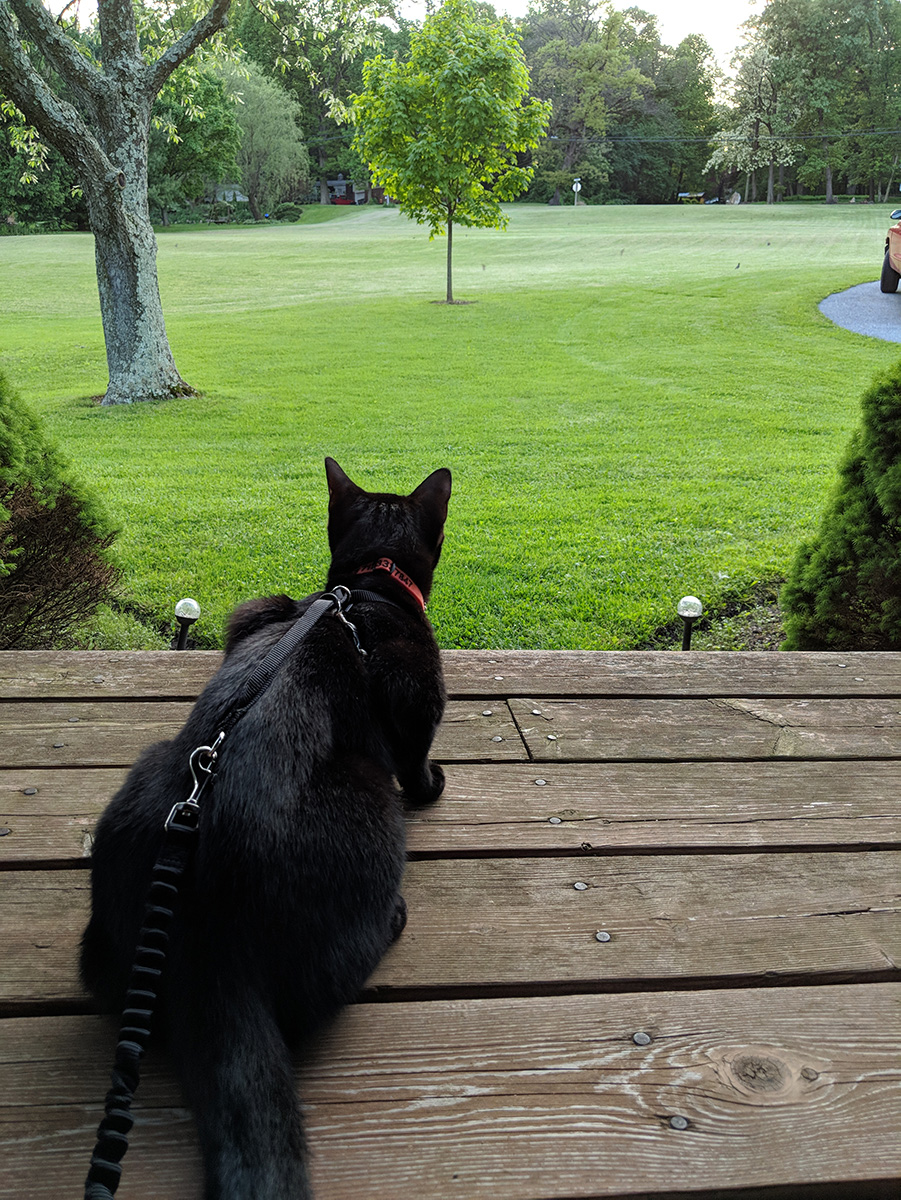
The move was pretty stressful on the kitties, too. They definitely noticed things slowly disappearing over the past month, but when the last of their hideouts and sleeping spots were gone, they were very worried. The kitties were packed last, so at one point, they were alone in the apartment with nothing but their carriers. I’m sure they were really confused at that point. They did well on the drive home, though, and they’ve adapted quickly to life in PA.
Progress
I hadn’t really accounted for the time it takes to pack, load, drive, and unload piles of our stuff between PA and NYC every week, so we’re a bit behind schedule. That said, we’re still making progress, and I’m finally feeling like we’re over the hump of figuring things out and into the final stretch of wrapping it all up.
Here are some highlights.
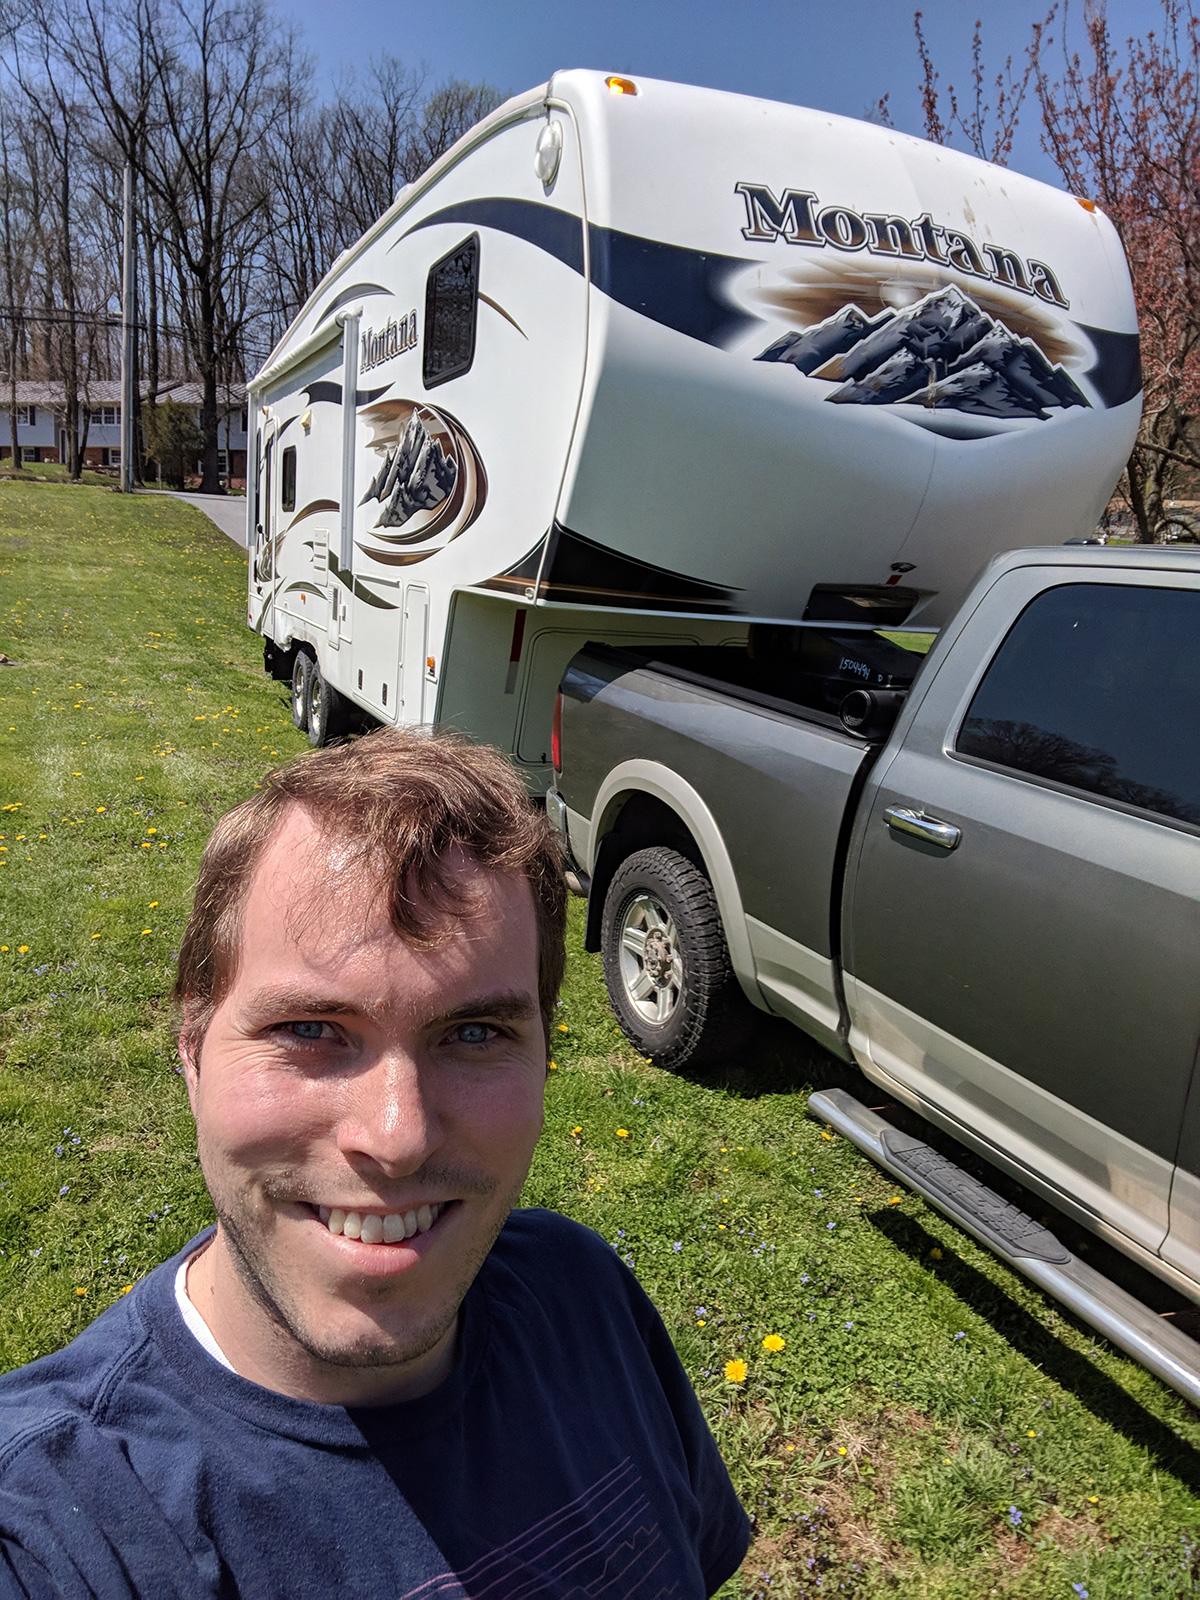
Towing the RV
We took the RV for a state inspection a few weeks ago (we passed with no problems!), so that was my first opportunity to tow the RV with our truck. We drove around for about an hour after the inspection, and I had a chance to practice starting, stopping, and merging onto a highway. I probably need a bit more practice before we hit the road (for example, I think backing up might be required at some point), but the first drive felt great. The truck handled well, and overall it was easier than I expected.
Front Bay Repair
The front storage bay of the RV was originally the location of the battery. The default RV batteries are flooded lead acid, and they can cause corrosion over time. The area was looking pretty rough. We want to use this area for the new electrical system we’re installing, so we needed to clean it up. I cleaned the battery corrosion with a baking soda solution and then scrubbed with a wire brush. I sanded everything down and finally painted with Rustoleum.
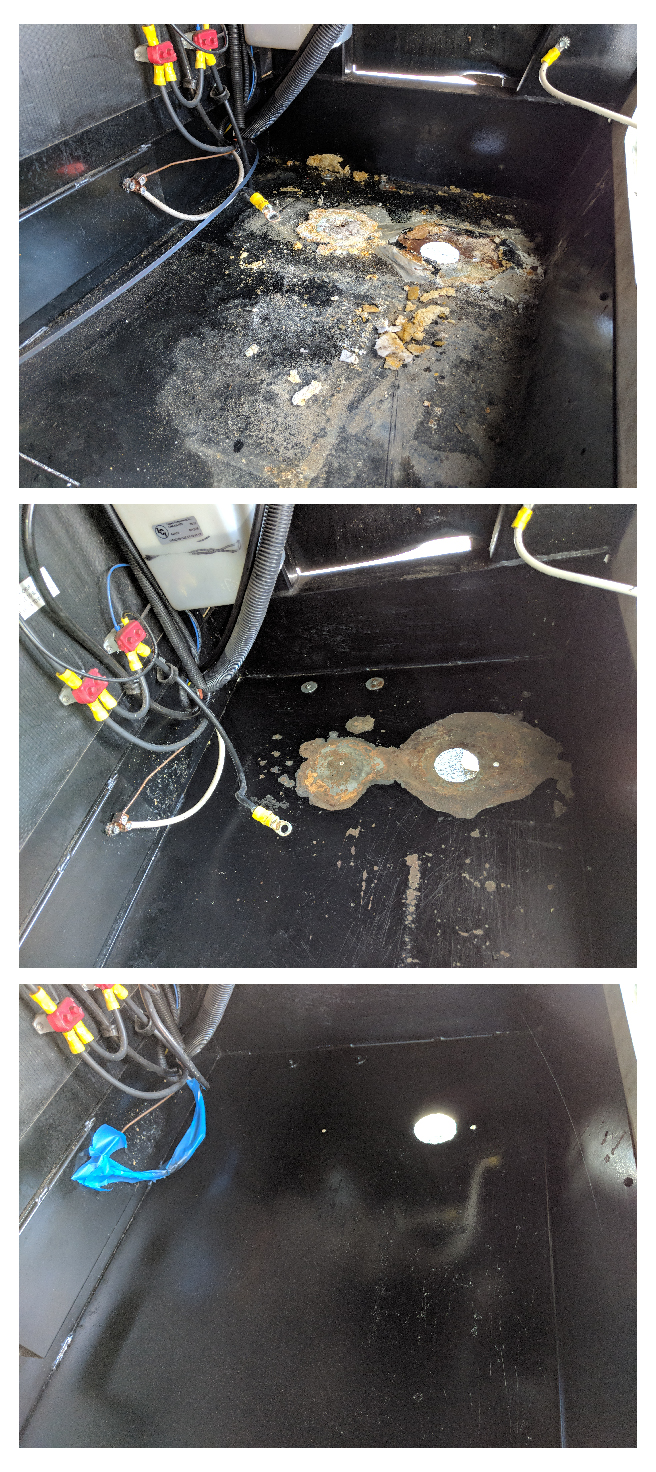
I also cleaned up some rust on the bottom, patched the large hole that was used to vent the old battery, and cut and stained some plywood to cover the entire floor.
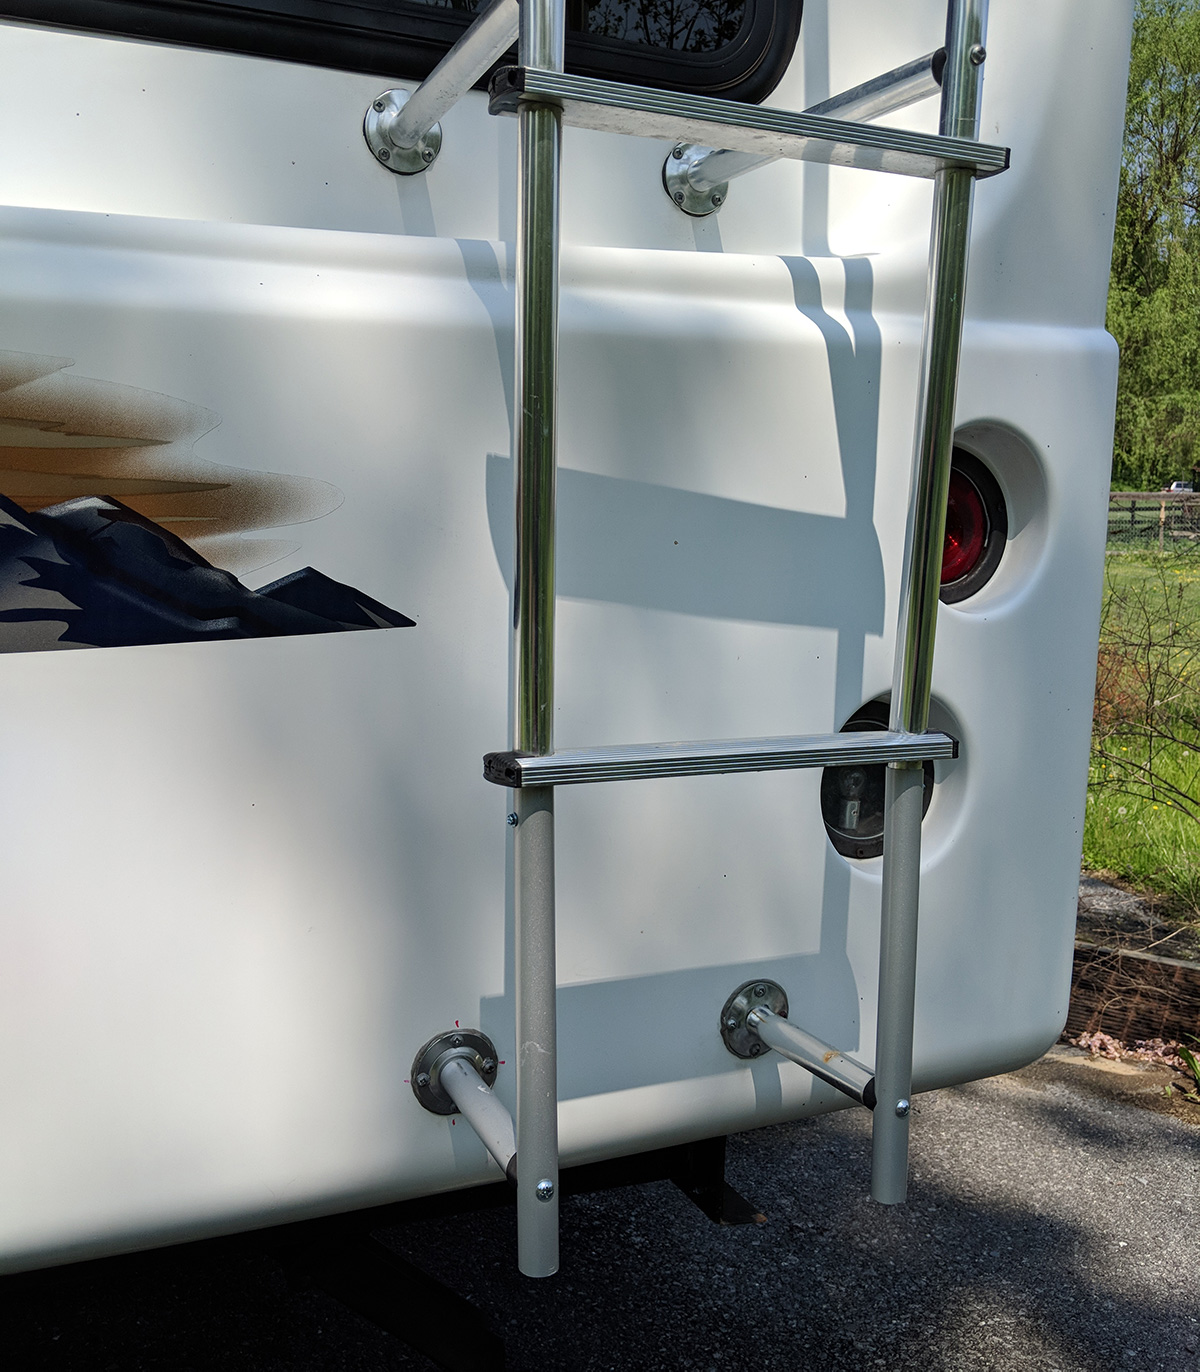
Ladder Repair
As I mentioned in my first post about preparing the RV, our RV’s ladder to the roof was damaged. I’m guessing the previous owners of the RV weren’t great at backing up since it appears to have been damaged, repaired, and damaged again. I thought this repair was going to be pretty challenging, but it turns out cutting and drilling into aluminum is pretty easy.
I removed the section of the ladder that held the last two steps and replaced it with new aluminum tubing. I also repaired and reattached the two connection points between the ladder and RV body. I’m still missing one final step for the ladder (the repair company forgot to send it in my first shipment), but once it arrives, the ladder will be complete and usable again.
Fan Install
The RV has 4 vents in the roof. The default vents just manually open/close and (slowly) let hot air out. The previous owners upgraded one vent in the living room to a thermostat-controlled fan, and we decided to do a similar upgrade for the vent in the bedroom.
We bought a <a href=”http://www.maxxair.com/products/maxxfan/maxxfan_deluxe_remote.php”>Maxxfan deluxe</a>. It also has a thermostat, which will be important when we go out sightseeing to keep the kitties comfortable. We’re expecting to have a lot of cool mornings and warm afternoons, so with this we can conserve power while it’s still cool and have the fan automatically start (and change speed) as the day warms up. It also has a built-in rain cover, so it can keep going even on rainy days (unlike the one the previous owners installed, which closes automatically when it rains).
The installation was not supposed to be particularly difficult. I had to remove the existing vent, and the only challenge there was scraping away all of the old sealant used to keep it water-tight. It took the better part of an hour to clean it up and remove the old vent.

After that, I inserted the new fan’s base plate, screwed it down, and sealed it back up. I attached the fan body to the baseplate, and the outside installation was complete. The only step left was to connect the power. When I removed the old vent, I found a two-pronged cable in the ceiling behind the vent cover. I assumed it was a power cable and didn’t worry about it. Of course, when I went to connect it to the fan, I used my multimeter to check the polarity and found that there wasn’t actually any power to the cable. I pulled the cable out of the ceiling a bit to see if any other cables were behind it (there weren’t), and it turns out the cable there wasn’t even connected to anything on the other end. I still don’t know what it was supposed to be for.
So now I was stuck running new power wires to the vent opening. There was a nearby 12v power outlet with easy access, but it was on the wall rather than the ceiling, and I was not able to snake a wire around the turn. Instead, I had to run power from one of the ceiling lights in the room. It wasn’t easy since there are aluminum beams every 12” or so, and the holes through the beams (luckily there are already holes!) do not line up well, but with a lot of effort and luck, I finally managed to get power to the fan!
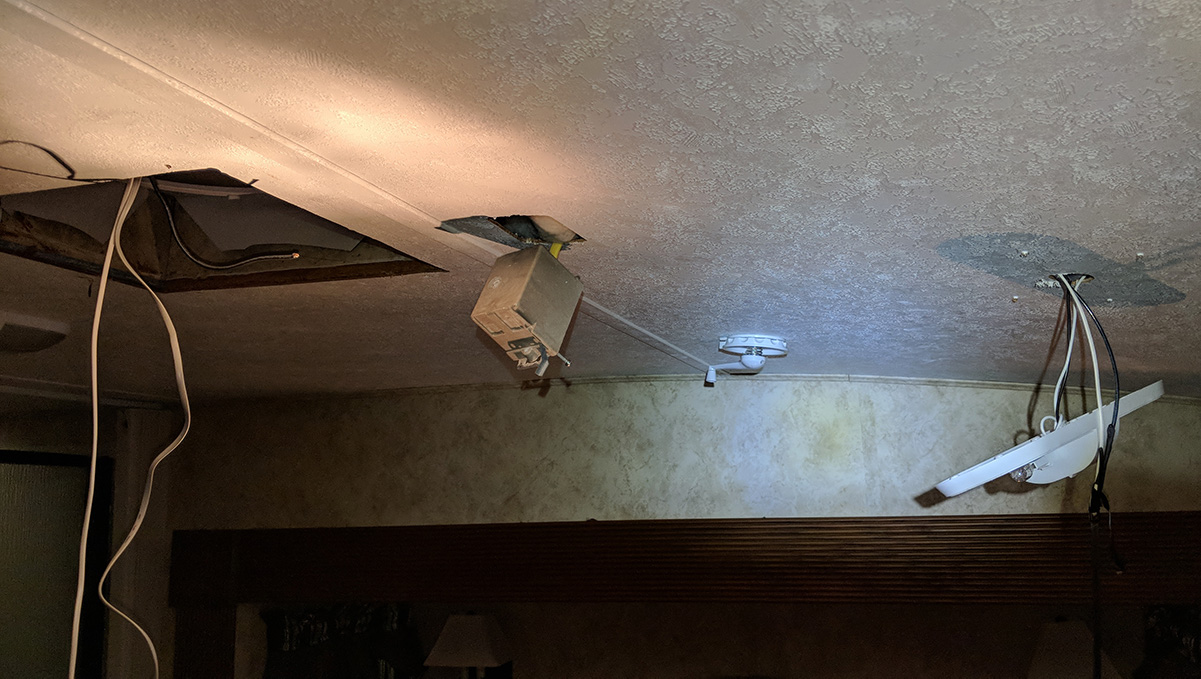
The fan ended up being the last connection on a circuit with a bunch of lights, so whenever the lights are on the fan slows down. It’s not ideal, but we’re hoping that upgrading to LED lights will make it less noticable. If it really ends up bothering us, we can always try running a new 12v circuit into the ceiling, but I doubt it will be necessary. For now, this project is complete!
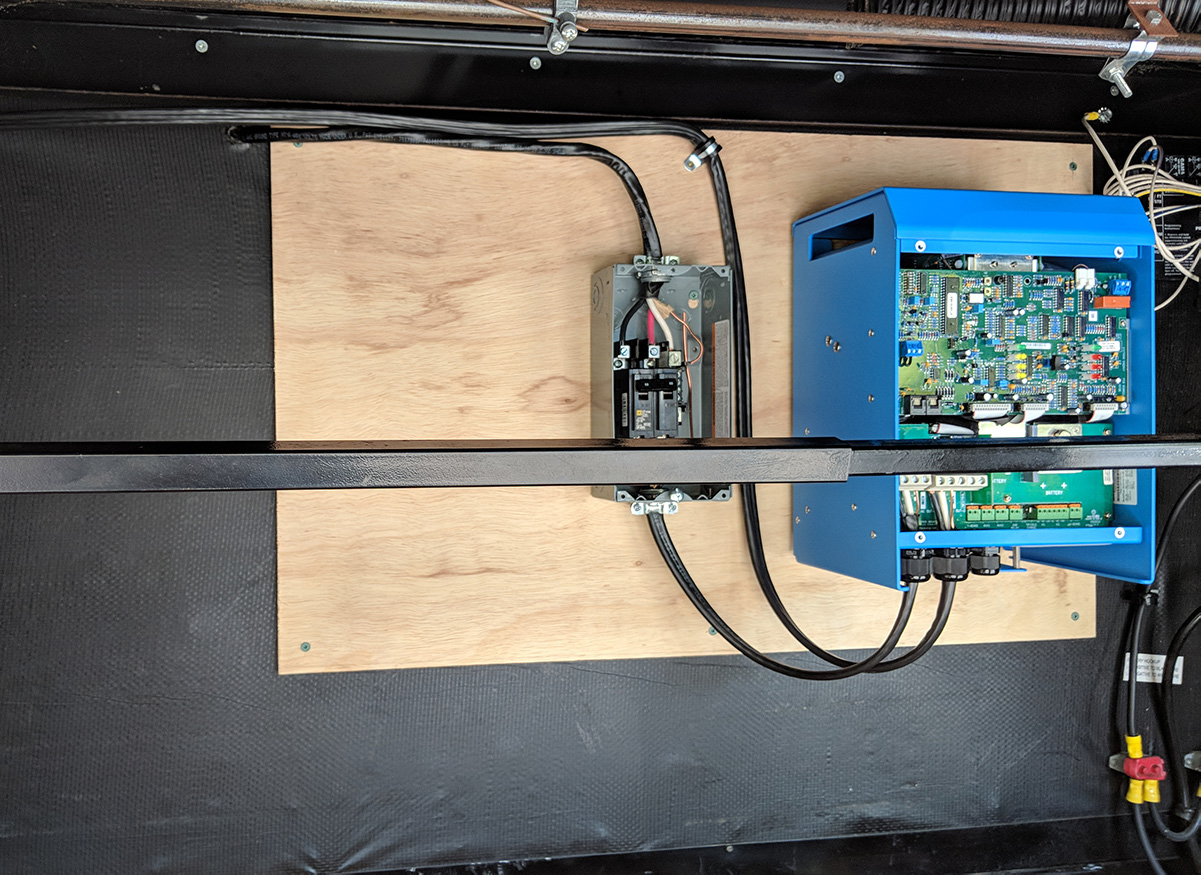
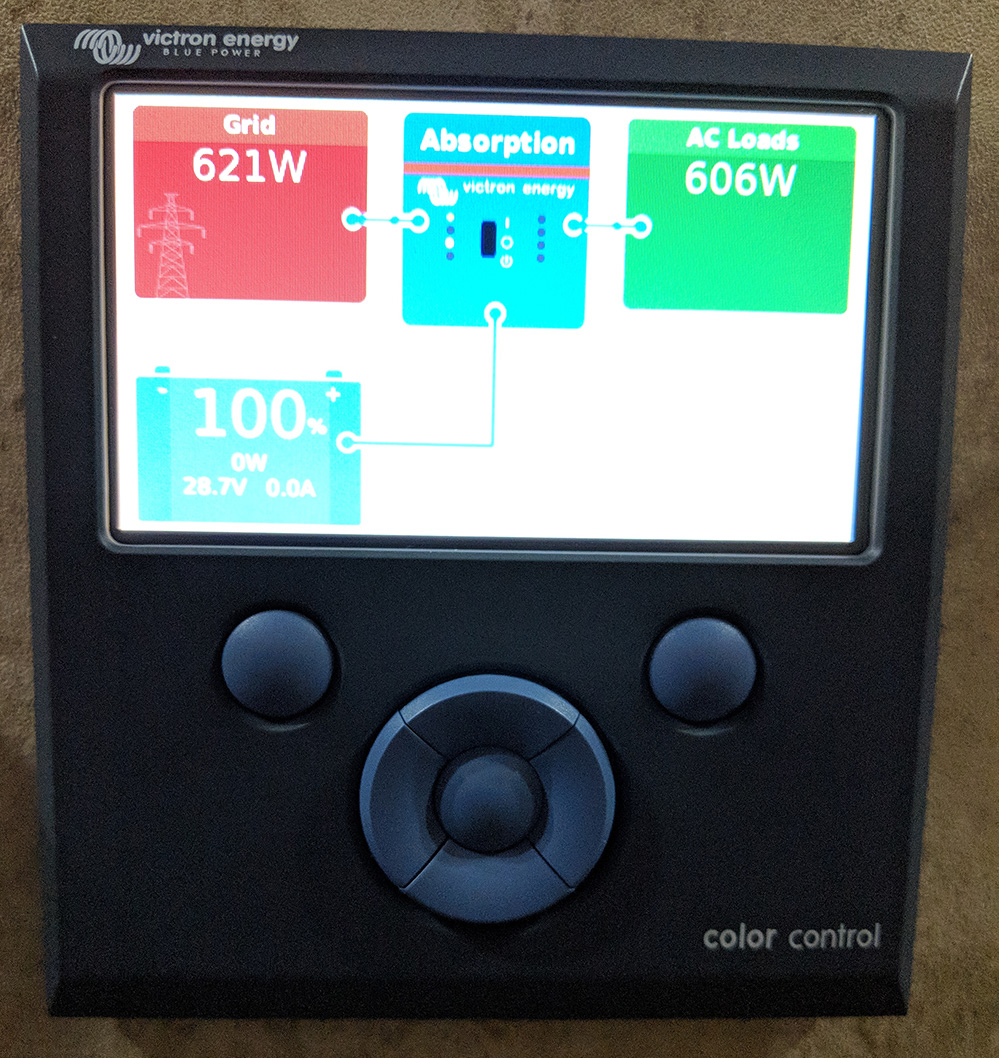
Electrical Upgrades
The biggest upgrade we’re doing to the RV is to the electrical system. The previous owners hadn’t done anything to it, so we just had the standard single battery that could keep the lights on for a few hours. That obviously wasn’t going to cut it for full-time living.
I’m planning a more detailed blog post on this project, so I’ll keep it short here. The overall project includes 3 components: AC power, DC power, and solar power. We finished the AC side this week by installing a surge protector and a hybrid inverter. It doesn’t sound like much, but it was a lot of work.
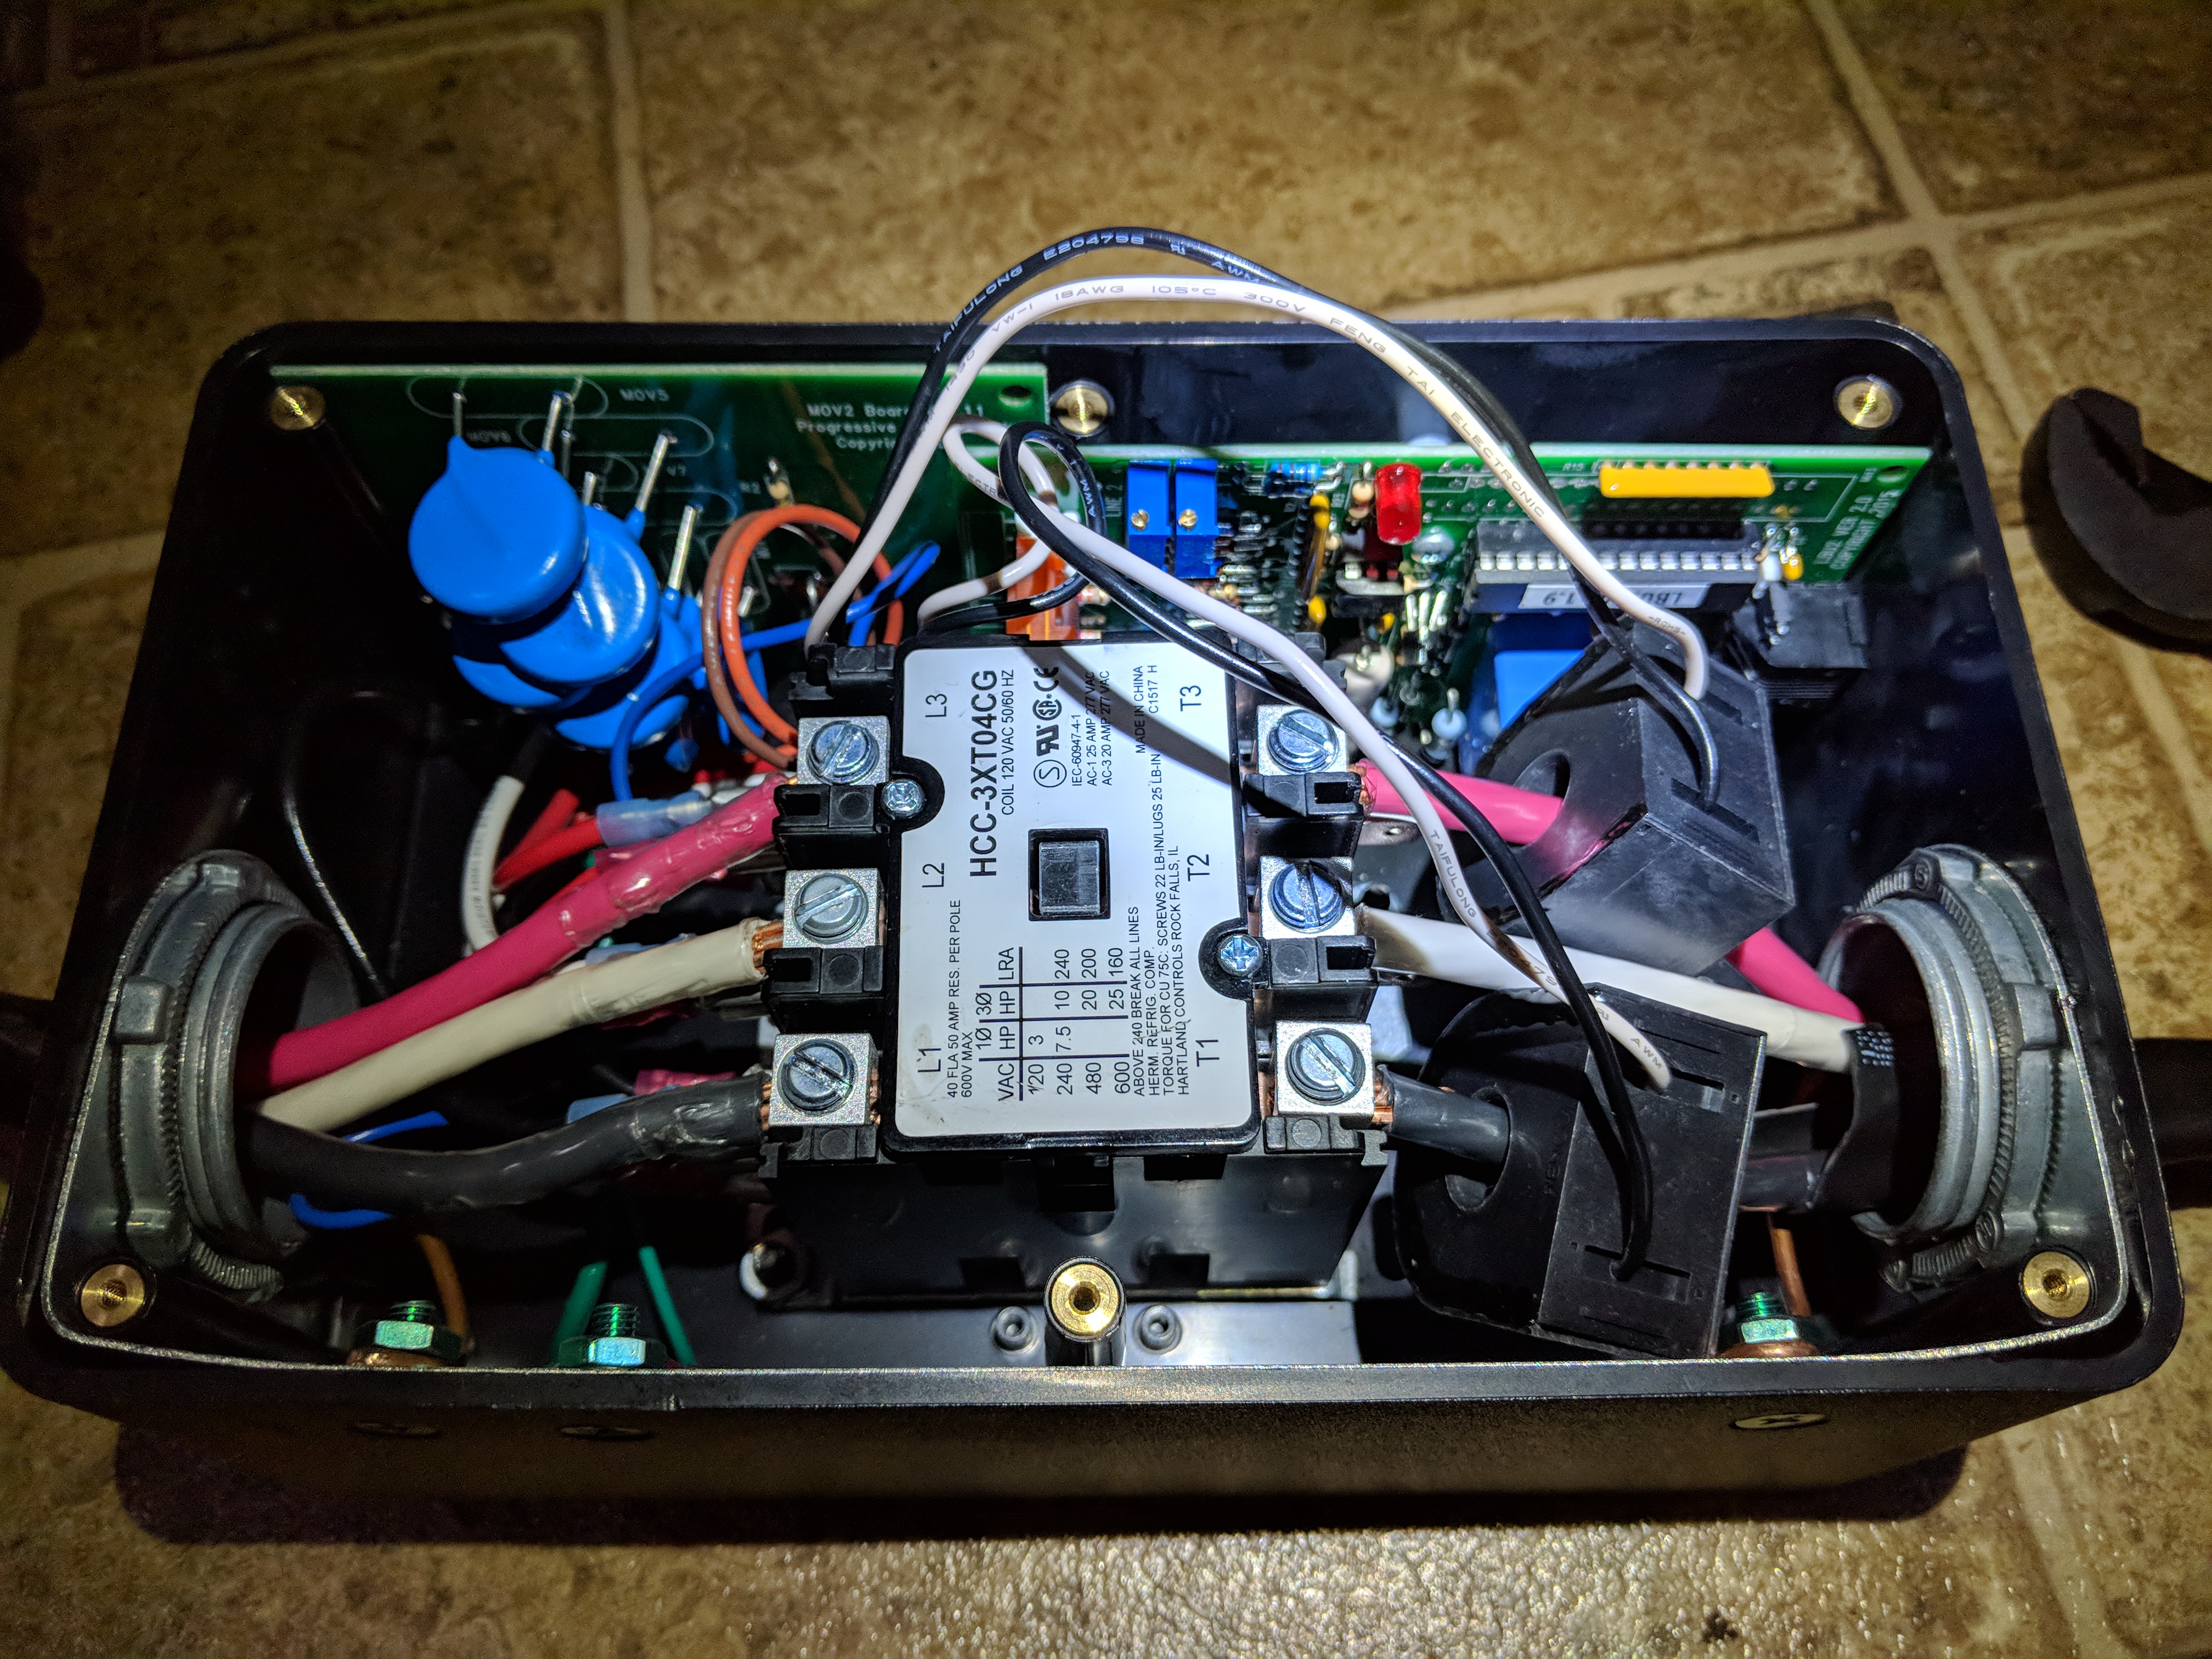
The surge protector is there to protect the rest of the system while we’re plugged in at a campground. It will stop surges, but it also protects against miswired power outlets or a voltage sag. Of course, the rest of the system is built around the idea that we won’t need to plug in at a campground to have power, but I’m sure we still will from time to time, so I’d rather be safe than sorry.
The inverter is really the key thing for the whole system. In addition to inverting power (converting from 24v battery to 120v), it will automatically combine the incoming AC power from a campground or generator with our battery power. This is critical because it will let us run higher powered items like the microwave or AC with only a small generator or house power connection. It will also control the charging of our lithium battery when we’re plugged in.
The big challenge in wiring these components was working with the heavy, 6 gauge power wires. They are not easy to manipulate, and all of the places we had to connect them were small and difficult to access. Because we’re not master electricians (yet), we really took our time and tried to ensure that all of the connections were clean and secure (which required redoing a couple of them). In the end, everything came together pretty well. We did run into one problem that required installing an additional junction box, but with that finished, the whole system powered up and worked as expected!
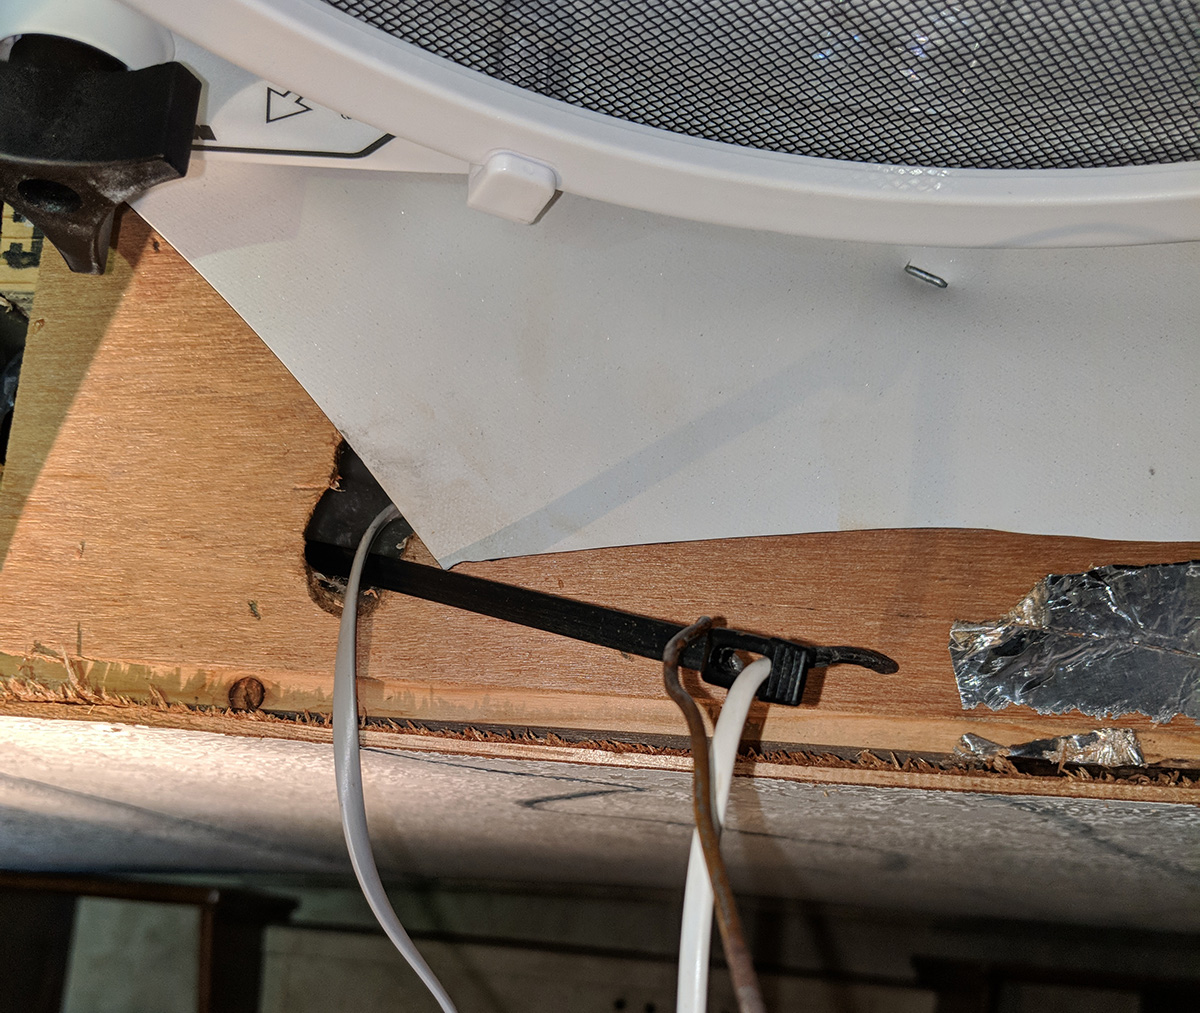
The inverter also has a control panel to let us change settings and monitor the entire system. Installing the panel required cutting a large hole in our hallway wall and running a new 12v power circuit to run it. Luckily, the wall is reasonably accessible, and once we got the wires snaked through, it was pretty easy to connect everything together.
Up Next
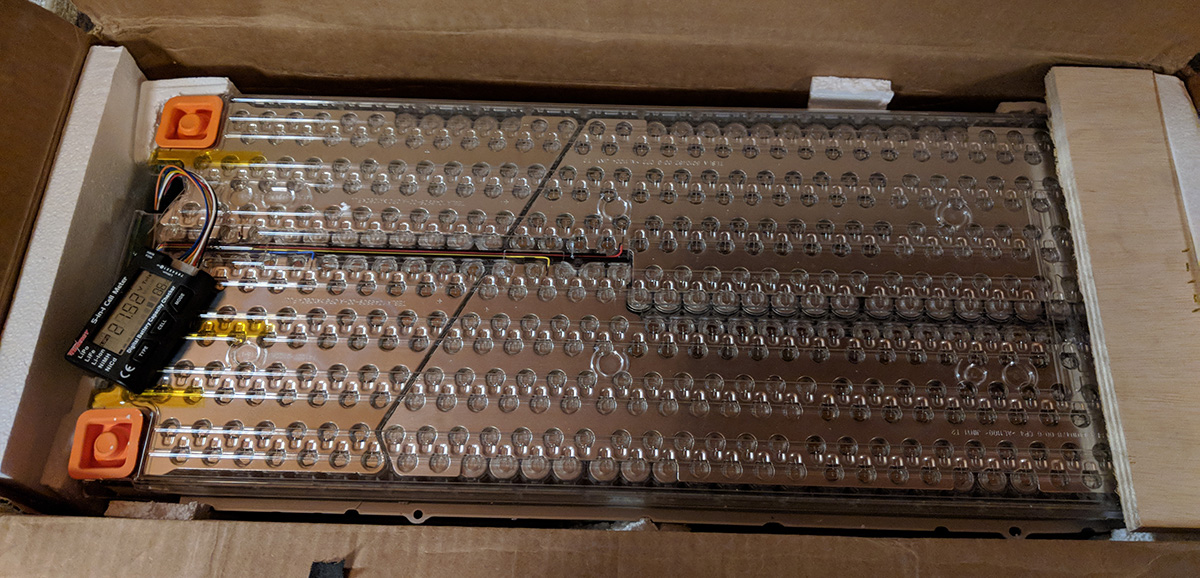
Next up is to complete the electrical upgrades by finishing the DC side of the system (the Tesla battery!) and the solar power. We’re hoping to wrap up the DC stuff this week and install the solar panels next weekend.
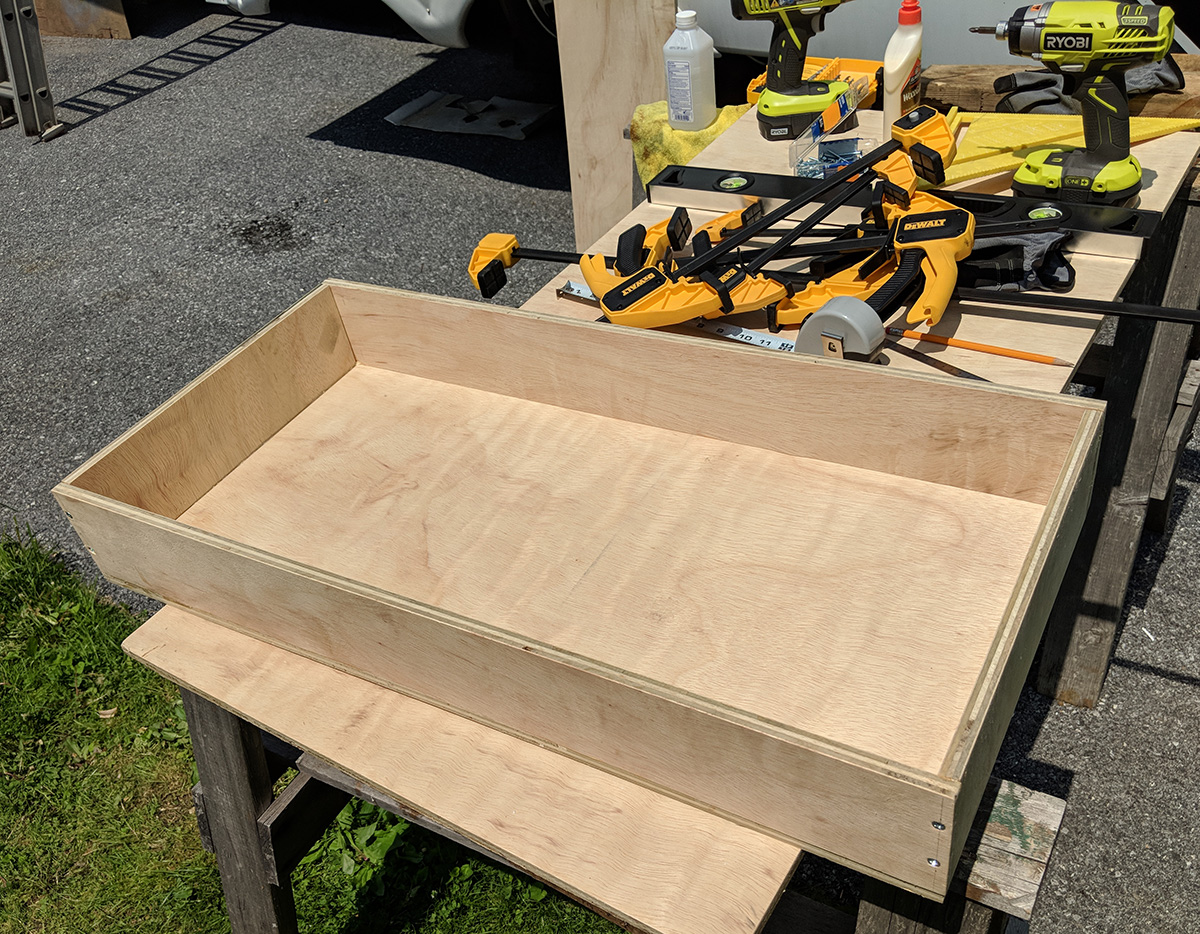
We also need to build the litter box room for the cats. The design is pretty close to finished, but we still need to cut all of the wood and assemble it, and given the complexity, I’m sure we’ll run into some unexpected things along the way.
Timeline
Our original intended start date was June 1. That day was really only picked because Sushila’s last day of full-time employment is May 31st, and I was just hoping to have everything else ready by then. Now that we’re really getting into the work, it’s pretty obvious that June 1st was overly optimistic. We’re now aiming for June 12th as our start date. We still plan to head to Shenandoah National Park first, but we may have to cut out Great Smoky Mountains National Park to wrap up that leg of the trip and make it to Vermont for July 4th. We’ll see how the next couple weeks go, though, and figure it out from there.